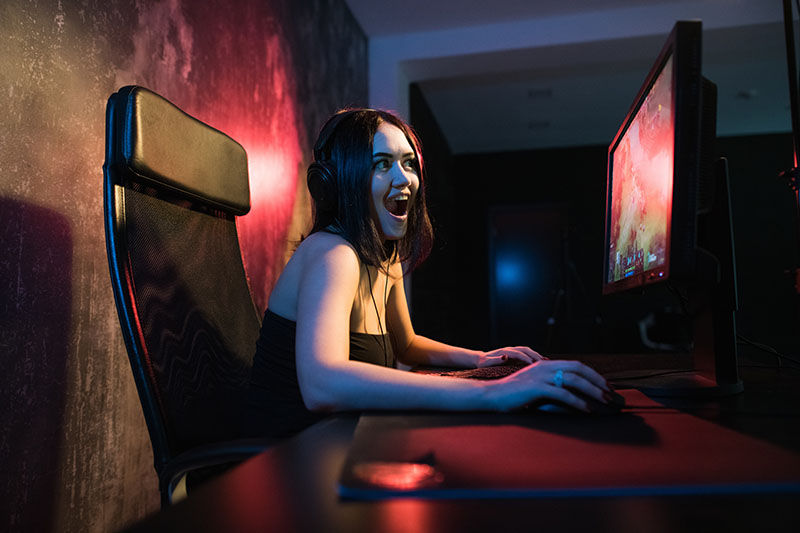
It’s the dream, isn’t it? To sit in front of your gaming PC or favored console and get paid to play video games while avid fans watch your progress. Indeed, these days, big streamers such as Ninja and DrDisrespect are considered celebrities in their own rights, with thousands of viewers tuning into their streams daily.
Not only do these views mean money through adverts, subscriptions, and donations, but big views mean that streamers are also getting big sponsorships from companies such as Samsung and Gillette and are fast becoming millionaires. All because people take the time out of their busy lives to watch them play video games!
A fact that has many of us wondering, how do you start streaming on Twitch?
Related article: Create the Ultimate Gamer Space/Setup
Getting started on Twitch

Before you go out and buy yourself lots of expensive streamer gear, it’s important that you do your research on the streamers that are currently dominating Twitch.
How to get started streaming on Twitch, if you want to be successful, should be thought of as like starting your own little business. For it to work, you need to do your homework and make yourself a sort of business plan.
Choosing a name
Your Twitch name is like your company name, so before you sign up, here are a few tips on choosing a name for your channel:
- Make it clean! You might think it’s funny that your Twitch name sounds a little rude or has some strategically placed numbers; however, this will only come back to bite you. A rude name will put people off no matter how good a streamer you are.
- Would you like it as a nickname? Most broadcasters will be referred to by their Twitch name like a nickname, so make sure you pick something you like.
- Is it easy to remember? One of the greatest mistakes people make when creating their name is to make it too complicated or go for ‘alternative’ spellings. These can be hard to remember, making it difficult for people to find your channel easily.
- Make it about you! Some of the best usernames are rememberable because of a story. Plus, having a fun backstory to your name can be a great addition to your profile and allow viewers to know you a little better.
Doll up your profile
Now that you have a quirky, memorable username and you’re all signed up to Twitch, it’s time to get your profile in order.
There is nothing worse than going to a streamer’s channel and seeing an empty profile with no avatar. True, a profile can be a daunting thing to fill in, especially when you’re looking at a blank screen, but any information is better than nothing.
Lacking inspiration, here are a few ideas to get your profile looking more professional:
- Get an avatar. If you don’t want to add your face, then there’s no need! Nobody wants to see those empty box graphics, though. Instead, if you’re good with Photoshop, make yourself a little logo. Or, something as simple as a pet or your favorite anime series is enough to get you started. These can all be changed later.
- Add some information about your stream. Not everyone likes to give personal information (such as your name, age, or location) to strangers on the internet, but you should add information about your stream. This can include your favorite games to play, the equipment you use, and a stream schedule.
- Stream schedules are essential for streamers who are striving for an affiliate or partner. They will give your viewers a rough idea of the days and times you will be online. You can even add the games you plan to play.
- Links to social media are another must-have for your profile. When you get started out, Twitter is a great place to set up a streamer account. This can then be used to network with other streamers. As your community grows, you can add your own Discord channel where you can chat with your viewers more personally.
- A donation button might feel like you’re getting ahead of yourself, yet it’s a valid addition to any profile. You never know when people might be feeling generous, especially if you put what donations will go towards – such as a new webcam or microphone.
How do I start streaming on Twitch?

Now you’ve got your name and profile; it’s time to start getting ready to stream. It’s not as easy as clicking a button and going though; you’re going to need some equipment first:
A computer and/or console
Most streamers tend to stream via a gaming PC; even if you plan to stream playing your PS4, the gameplay is often streamed through a PC via a capture card. Fear not, though; if you only have a console, it’s still possible to stream too.
For your gaming PC, Twitch will recommend you to have Windows 7 or newer, 8GB of RAM, and an Intel Core i5-4670 processor or better. This might sound fancy, but, in reality, this is pretty standard for most gaming PCs. If yours is a little sluggish, you can always tune it up a little.
Your required graphics card will be dependent on what games you plan to stream. Playing Skyrim on full quality will require a better card than wanting to stream an emulator for Sonic. As with anything, though, the better your card, the better the quality. Just don’t beat yourself up if you don’t have the highest specs when you start out.
You’ll also need a decent internet connection; otherwise, your stream will buffer as you play. Modern homes tend to have a good connection to standards these days, so this isn’t too much of a problem for most people.
You can also stream directly from your Xbox or PS4, which is perfect for those without a PC.
On the PS4, you simply connect your Twitch profile to your PS4 and go live using the share menu. On Xbox One, who will need the Twitch app and, again, it’s simply a case of going live. The main downfall here is that you won’t be able to customize your stream the same way as you can using PC software. However, this is a cost-effective way to stream when you’re starting.
Streaming software
If you plan on using your gaming PC to stream, you will need some broadcasting software. The most popular of these are XSplit and Open Broadcasting Software (OBS), with OBS being the favored choice of most professional streamers.
The great thing about OBS is that it’s super easy to use. No matter how novice you are with technology, OBS makes it simple. Especially if you use one of their pre-made set-ups, which are created for free by community members.
Then it’s just a case of adding what sources you want on your stream – the most common of these being your gameplay, webcam, and microphone – and adjusting how you’d like these to be seen on screen. You can also add sources such as recent followers, top donators, and (once you reach affiliate) a bit counter.
When you’re happy with your layout, you just need to add your Twitch key to OBS, and your software will be ready to go.
Microphone and webcam
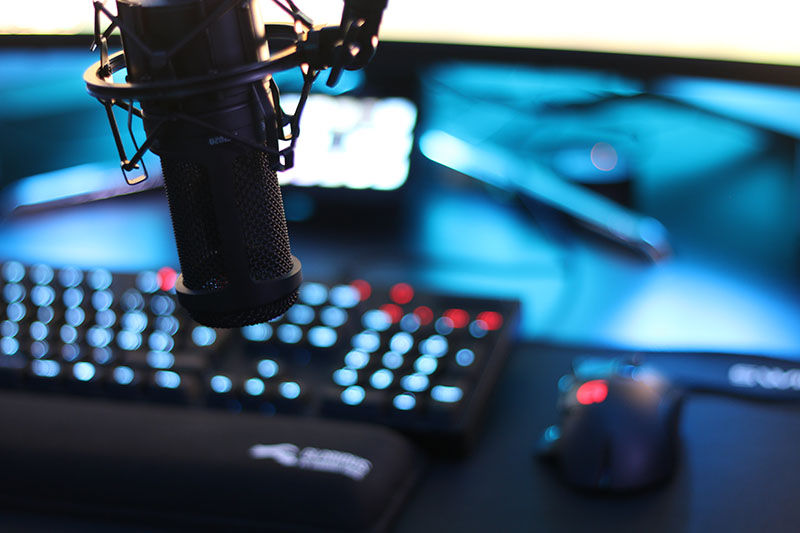
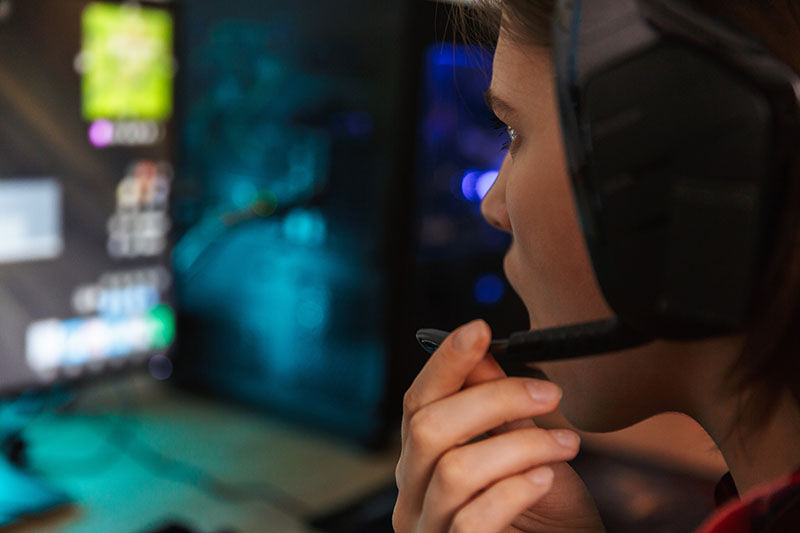
A microphone is an absolute necessity for streaming. Otherwise, you won’t be able to communicate with the people who are watching your stream. Think of streaming as like having your friends over; you wouldn’t sit and ignore them, would you? And, if you did, they’re not likely to visit again. The same goes for viewers – no mic, no views.
A webcam is also desirable, but it isn’t as important as a mic. Some people will only watch streams that use a webcam, and, true, you will miss out on these views. Others will happily watch you play their favorite games, camera or not. If you’re a little shy about a camera or you don’t have the spare cash, it’s perfectly fine to stream without.
Capture card
A capture card isn’t essential for a stream, especially if you plan to play PC games or stream directly from a PS4 or Xbox One. If you’re looking to stream your consoles via your gaming PC, you will need to invest in a capture card.
The great thing about capture cards is that they allow you to stream your favorite console games – including retro consoles – while having all the control of OBS or whichever software you opted for.
There are numerous capture cards on the market, each with its own advantages and disadvantages, so choosing the right one for you will depend on your own preferences. Some of the most popular brands are Elgato, Hauppauge, and AVerMedia – all of which will retail from around $99 and above new, depending on specs.
How much does it cost to start streaming on Twitch?

So, you’ve thought, “I want to start streaming on Twitch,” but now you’ve read about all the equipment, you’re having doubts. Well, there is a lot of equipment up there, but streaming on Twitch doesn’t need to be an expensive hobby.
For one, just because your favorite streamer uses the best in cutting-edge equipment – including two high-end gaming PCs and a gaming mouse that costs more than your rent – doesn’t mean you need to spend a fortune yourself.
When starting out Twitch streaming, you don’t actually need to spend a penny. This is because you probably already have the basic equipment that you need to start your streaming!
If you’re watching Twitch and would like to pursue streaming as a career, then it’s highly unlikely that you already don’t have either a console or a gaming PC. With that console/PC, you will likely already have a headset with a mic and a pile of games you want to play. At its core, that’s all the equipment you need. Your Twitch account is free, too.
As you start to stream and grow, you start adding extras such as a webcam or capture card. Even then, be sure to look around for second-hand options. Many capture cards, sound mixers, and even PCs are available second-hand at a fraction of the price you would pay new. These are a great way to ensure you like a brand before investing in an expensive new model.
Becoming a successful Twitch streamer – find your niche!
Many of us believe that the best way to start streaming on Twitch is by choosing the most popular game around and going for it – this is far from the case.
If you go to Twitch and scroll through popular games such as Fortnite, you will find hundreds of people streaming the same game with only one or two viewers. These types of games are far too saturated for a new streamer starting out.
Instead, find your own niche. Perhaps you’d like to try speedrunning, or you have a love for playing retro games; by playing a game that’s not one of Twitch’s top 20, you have a greater chance of getting found and viewed by people who enjoy that game too.
Of course, Fortnite might be your favorite game, and that’s what you want to play. In that case, you’re going to have to get yourself networking.
By finding other streamers on Discord or Twitter – even Twitch itself! – you can start to integrate yourself into different that will be happy to help you grow as a streamer.
Watching other streams is essential too. Not only is this the perfect way to scope out your competition who are playing similar games to yourself, which can lead to ideas on how to improve your own stream, but this is also a wonderful way to connect with other viewers. So, get into the chatrooms of streamers and start chatting.
Never try to be a salesperson; there is nothing worse than streaming and a random coming into your stream and telling your viewers that they’re about to start streaming a game themselves. This is rude and inappropriate. Going into chat and asking that streamer questions and chatting with their views normally is a brilliant way to gently network yourself in a subtle and friendly manner.
Twitch streaming is hard and takes time. The best thing you can do to be successful is to make your setup as professional as possible and be yourself. It might take weeks, months, or years, but perseverance pays off.


By Steph Freeman
Updated on 7th March 2025